Adding an AI chatbot to your website should not require rebuilding the site or turning every customer conversation over to automation. A good setup starts with a clear job for the assistant, gives it approved information to answer from, and provides a simple path to a real person whenever the conversation needs one.
This step-by-step guide explains how to add an AI chatbot to a website, prepare its knowledge, test it safely and launch it without creating extra work for your team. If you are still deciding whether a chatbot fits your business, start with our complete guide to AI chatbots for small businesses.
What you need before adding a chatbot
You can install a basic chat widget quickly, but a useful assistant needs more than a piece of code. Prepare these five items first:
- A clear purpose: Decide whether the assistant should answer FAQs, capture enquiries, qualify leads, support existing customers or do a combination of these jobs.
- Approved business information: Gather your opening hours, services, prices, delivery areas, policies, booking process and contact details.
- A handover route: Choose what happens when the assistant is unsure. This might be live chat, an enquiry form, email or a promise that your team will follow up.
- Website access: You need permission to add a short script to the website, or access to a custom-code area in your website builder.
- A person responsible for review: Someone should check unanswered questions and keep the knowledge base current.
Starting with these decisions prevents a common problem: installing a chatbot first and only later deciding what it should say.
How to add an AI chatbot to your website in 8 steps
1. Choose the job your chatbot will do
Write one sentence that describes the assistant’s main role. For example:
“Answer common questions about our services and opening hours, collect complete enquiries, and hand unusual requests to our team.”
This keeps the project focused. It also makes it easier to measure whether the chatbot is working. Instead of asking whether the assistant “sounds intelligent,” you can check whether it answers approved questions, captures useful contact details and hands over at the right time.
ReplyAIDesk is designed around this controlled approach. See the ReplyAIDesk features and how ReplyAIDesk works for an overview.
2. Create your site and add the correct domain
Create a site inside your chatbot dashboard and enter the real domain where the widget will run. Include any additional hostname that visitors use, such as both example.com and www.example.com, if the platform treats them separately.
An allowed-domain list is an important security control because it stops another website from copying your public widget code and using it as if it were theirs. A dummy domain is useful during early testing, but the widget will not load on the live site until the real domain is allowed.
If you use a staging site, add its domain temporarily and remove it when testing is finished.
3. Add approved knowledge
Your assistant needs reliable source material. Begin with the questions customers ask most often:
- What are your opening hours?
- Which areas do you serve?
- How much does the service cost?
- How can a customer book, buy or request a quotation?
- What is your cancellation or returns policy?
- How quickly does your team respond?
Write short, direct answers. One question and one approved answer per knowledge entry is often easier to maintain than a single long document. Include important conditions—for example, “Prices start from…” or “Delivery times depend on location”—so the assistant does not present an estimate as a guarantee.
Avoid adding private staff notes, customer records, passwords or any information that should not be shown publicly. OWASP’s guidance on input validation is a useful security reference when your website accepts visitor-supplied data.
4. Configure the assistant’s tone and handover
Choose a tone that matches the business: friendly and concise usually works better than a long, overly formal reply. Give the assistant a simple greeting, but do not force every message through AI. Scripted greetings such as “Hi! How can I help?” can be handled locally without spending an AI reply.
Next, define the handover rule. The assistant should escalate when:
- the answer is not in the approved knowledge;
- the visitor asks for a person;
- the request involves a complaint, exception or sensitive situation;
- the visitor needs a quotation that depends on several details; or
- the assistant is not confident enough to answer safely.
A helpful fallback is better than a confident guess. It can explain that the assistant does not have an approved answer yet and offer live chat or an enquiry form.
5. Customise the widget
Adjust the widget so it feels like part of the website rather than an unrelated pop-up. Set the assistant name, welcome message, brand colour, logo or avatar, launcher position and contact-form fields.
Check contrast, readable font sizes, keyboard navigation and focus indicators. The Web Content Accessibility Guidelines (WCAG) 2.2 provide the recognised standard for making web interfaces more accessible.
Keep the first screen simple. Visitors usually need a greeting, a message box and a clear option to contact a person. Too many buttons can make the widget feel harder to use.
6. Copy and install the embed code
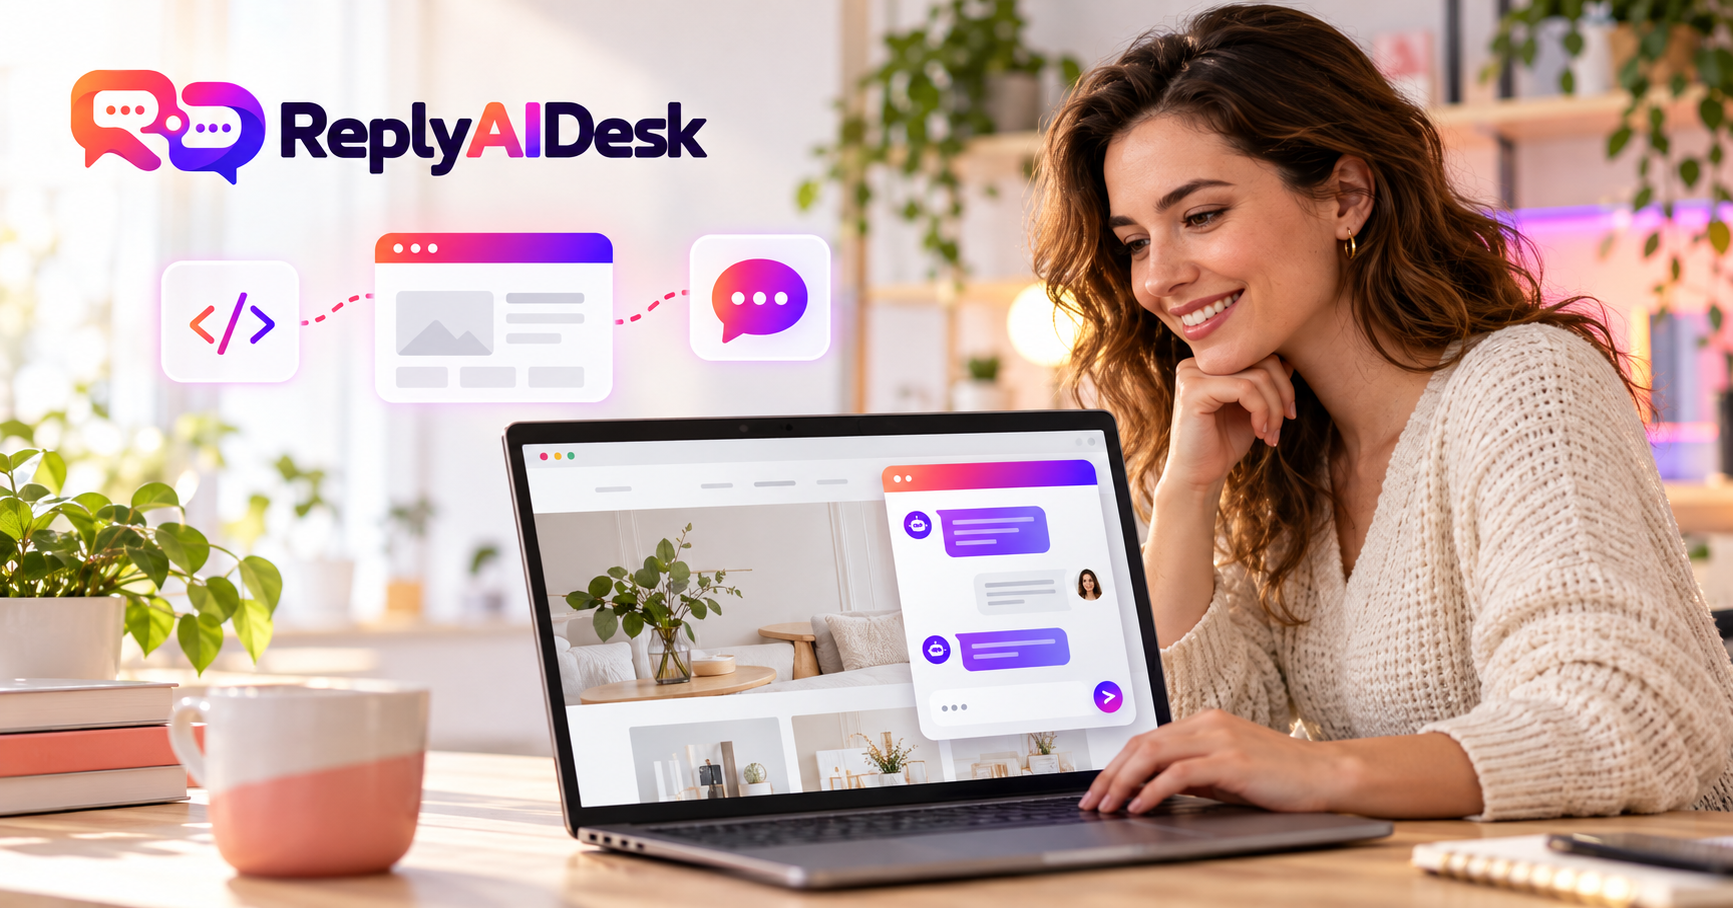
Your chatbot platform will provide a site-specific script. It normally looks similar to this:
<script async
  src="https://your-chatbot-provider.example/widget.js"
  data-site-token="YOUR_SITE_TOKEN">
</script>
Paste the exact snippet immediately before the closing </body> tag on every page where the assistant should appear. Do not invent or reuse a token from another site.
The async attribute allows the browser to fetch the script without blocking the rest of the page. You can read more about script loading in the MDN script element reference.
Installation varies by platform:
- WordPress: use a trusted header/footer code tool or add it through your theme’s supported custom-code area.
- Shopify: add the snippet to the theme layout before
</body>, then save and preview the theme. - Wix, Squarespace or another website builder: use its custom code or code-injection settings and apply the code to all pages.
- Custom HTML or a web application: place the snippet in the shared layout so it loads consistently across routes.
After saving, clear the site cache and any CDN cache if the change does not appear immediately.
7. Verify the installation and test real questions
Open the live website in a private browser window and check that the launcher appears. Then use the platform’s installation-verification feature if one is available.
Test at least these scenarios:
- A greeting such as “Hi”.
- A question with an approved answer.
- The same question written in a different way.
- A question that is not in the knowledge base.
- A request to speak with a person.
- An enquiry that should collect a name, email and useful details.
- A mobile screen and a laptop screen.
- Keyboard-only navigation.
Do not only test perfect wording. Customers use abbreviations, incomplete sentences and spelling mistakes. The goal is to learn where the assistant needs clearer knowledge or a faster handover.
You can also explore the ReplyAIDesk live demo before configuring your own assistant.
8. Launch, monitor and improve
Once testing is complete, make the widget available to all visitors. Review the inbox and unanswered-question reports during the first week. The most useful improvements usually come from real questions that were missing from the original knowledge base.
Use a simple weekly routine:
- review questions the assistant could not answer;
- add or improve approved answers;
- check that enquiries contain enough information for follow-up;
- remove outdated offers, prices or opening hours; and
- confirm that human handover still reaches the right team member.
This turns the chatbot into a maintained customer-service channel rather than a widget that was installed once and forgotten.
Common reasons a website chatbot does not appear
If the embed code is installed but nothing shows, check these issues in order:
| Problem | What to check |
|---|---|
| The domain is not allowed | Add the exact live domain and any required www or staging hostname. |
| The snippet is in the wrong place | Move it before the closing </body> tag in the shared site layout. |
| The token is incorrect | Copy a fresh snippet from the correct site inside the chatbot dashboard. |
| A cache serves the old page | Clear the website, plugin and CDN caches, then test in a private window. |
| A security policy blocks the script | Check the browser console and allow the provider’s required script and connection domains in your Content Security Policy. |
| A consent tool delays third-party code | Review the consent manager’s classification and loading rules. |
| The widget is hidden behind another element | Check mobile layout, positioning and stacking order. |
How long does chatbot installation take?
Adding the script can take only a few minutes. Preparing useful knowledge and testing the handover normally takes longer, and that is where most of the value is created. A small business with a focused FAQ can often prepare a solid first version in a single working session. A business with several services, locations or policy variations should launch in stages.
Start with the highest-volume questions, monitor the gaps, and expand from evidence instead of trying to predict every possible conversation before launch.
Do you need a developer?
Not always. If your website builder has a custom-code area, you may be able to install the widget yourself. Ask a developer for help when:
- you cannot edit the shared website layout;
- the site uses a strict Content Security Policy;
- the widget must open from a custom button or application event;
- you need consent-management integration; or
- the installation affects a complex single-page application.
A developer should not need access to your customer conversations or private knowledge. Give them only the embed snippet and the technical requirements needed for installation.
Start with a controlled, helpful assistant
The best website chatbot is not the one that attempts to answer everything. It is the one that reliably answers approved questions, collects useful enquiries and makes it easy to reach a person.
ReplyAIDesk combines an approved knowledge base, enquiry capture, team inbox and human handover in one website assistant. Compare the ReplyAIDesk plans, try the live demo, or contact us if you want help planning your setup.